Create Christmas Magic With Avery Design & Print Online
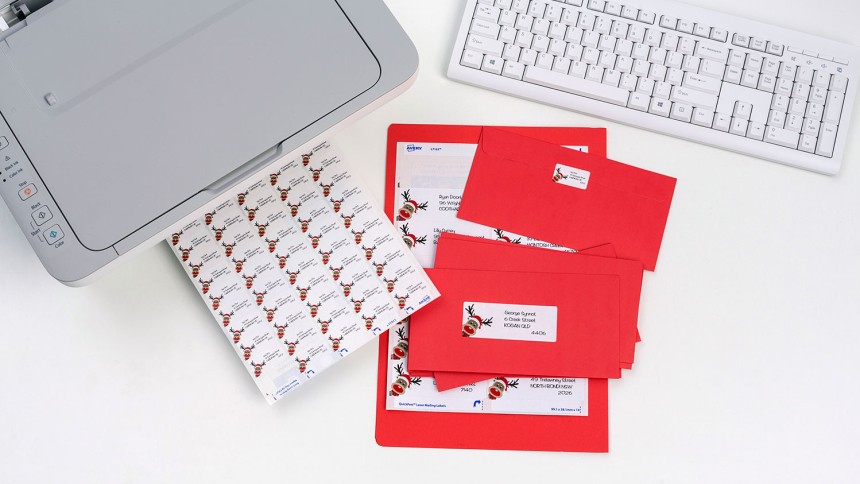
Create Christmas magic for your home! Use free Avery® Christmas designs and Avery products to create your own labels, cards and tags. Here’s a step by step guide to creating Christmas magic. Start with your favourite Christmas design, and apply it to any Avery product. You can dress your Christmas in the same theme, from top to toe!
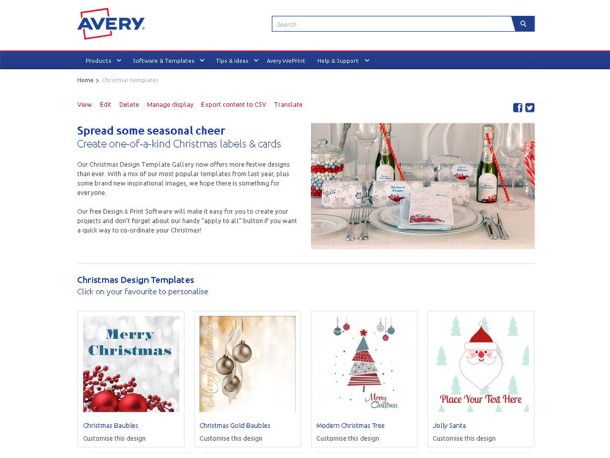
Step 1: Open the Christmas Design Page
Visit averyproducts.com.au/Christmas or avery.co.nz/Christmas.
Click on your favourite template and start creating labels, cards and tags!
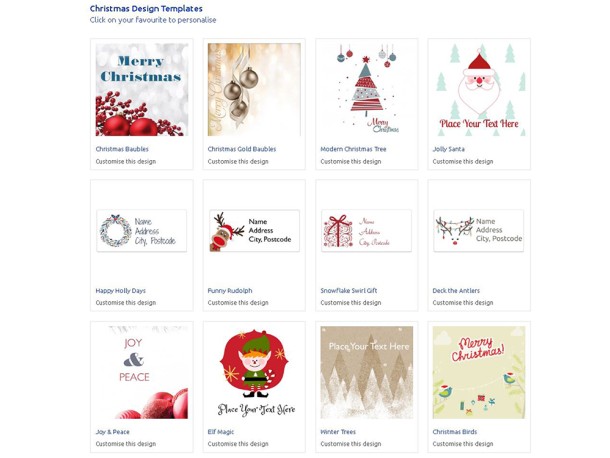
Pick Your Favourite Design
Click on your favourite design. Avery Design & Print Online will open, ready for you to select the Avery product you’d like to design.
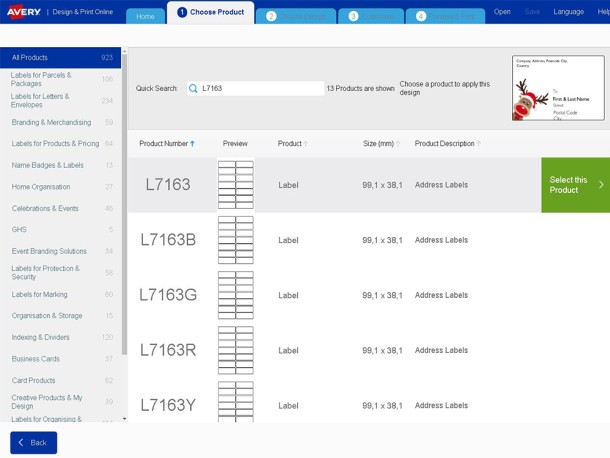
Choose Your Avery Product
To quickly locate your product from the list, enter the Avery software code or product number (you’ll find these on your Avery pack) in the Quick Search. To begin designing click Next (in the top right hand corner).
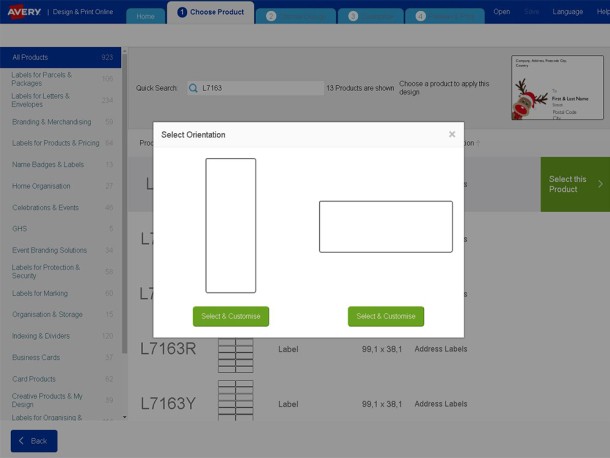
Step 4: Select Your Label Orientation
Choose a Portrait or Landscape orientation for your labels. Click Select & Customise for your preferred orientation.
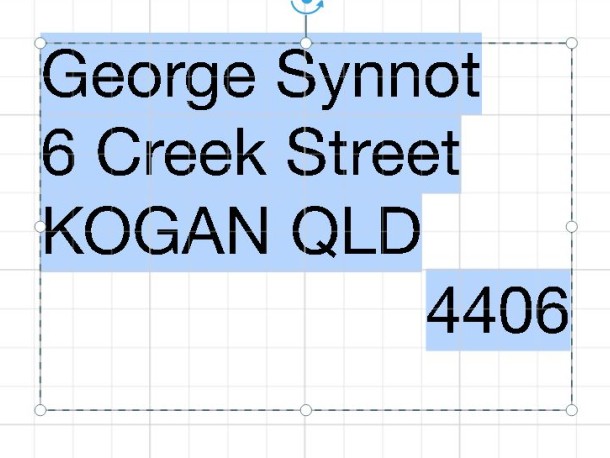
Step 5: Edit Your Text
When the Customise screen opens you will see the sample text already written on the template. To change this text, highlight and type over it with your information. If you want to add extra text click on Text (it’s on the left hand side of the screen), and then New Text. Type over the dummy text that appears in the text box. To change the font colour or size click on Text and use the formatting options available.
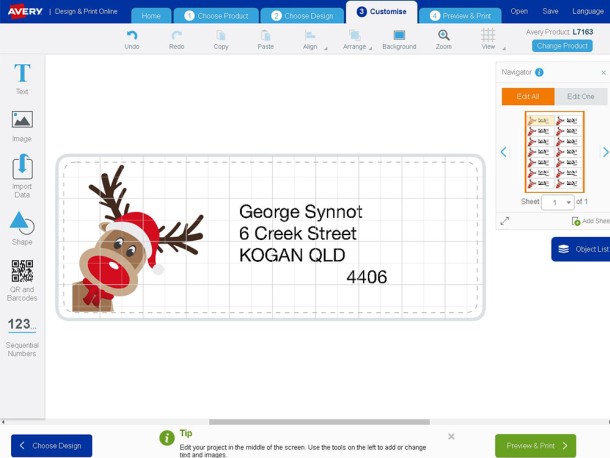
Step 6: Position Your Christmas Image
To move the Christmas image, click with your mouse and move it to the desired position. You can also resize your Christmas image to suit your product by clicking on the image and using your mouse to move the corners to increase or decrease the size.
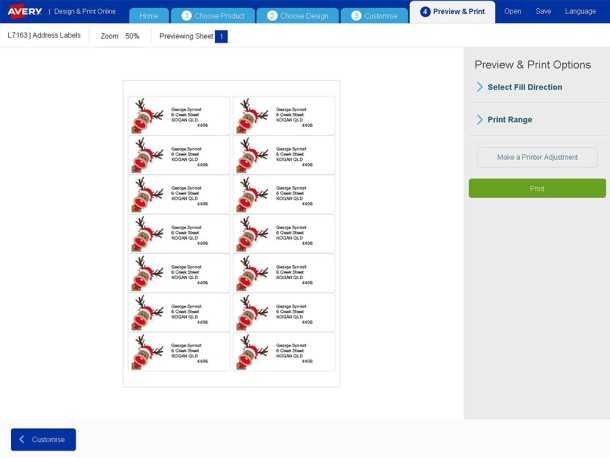
Step 7: Preview and Print Your Christmas Design
When you have finished designing your project, click on Preview & Print (in the top right hand corner). You will see a preview of your project. If you’re happy with your project, click on Print. Design & Print Online will create an Adobe® Acrobat® PDF version of your project. Print from Adobe Reader® as normal, ensuring that your Page Size is set to A4 and Page Scaling is set to None.
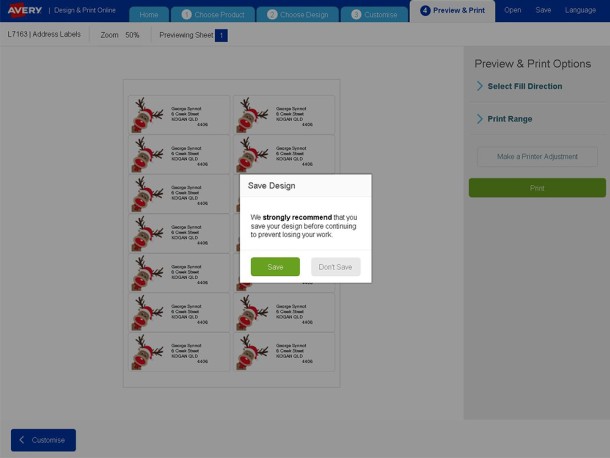
Step 8: Save Your Christmas Design for Future Use
To save your Christmas design in the Adobe PDF format for future printing, click on Save to My Computer.
To save your Christmas design in an Avery Design & Print Online format that you can edit in the future, click on Save to my Avery Account. You can open Design & Print Online at a later date and select the Load Project button to open your Christmas design. You can then edit your existing Design & Print Online file.