How to use Design & Print
Getting started with our free online software
Design & Print is Avery’s free software that contains all our printable products’ templates. With inspiring template designs and creative tools, you will be able to edit our designs or create your own from scratch. Whether you need to address an envelope, organise your office, produce a business card or brand your products, Avery Design & Print can help you make them look great, without the need for an external agency or expensive design programmes.
Read our step by step guide below to find out how to get started with this creative software.

Step 1
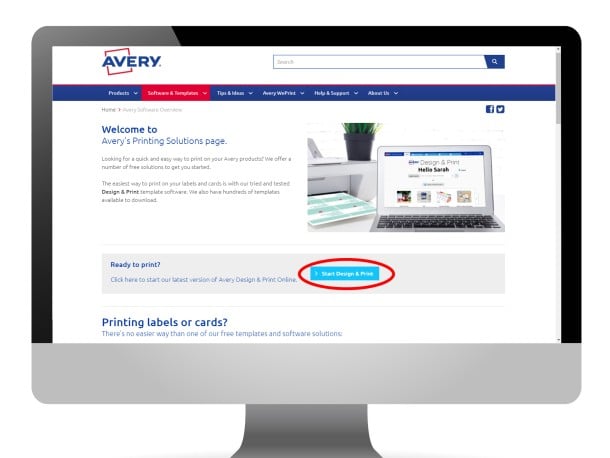
Open Design & Print
To use the web version of Design & Print go to www.averyproducts.com.au/print and click the blue Start button to open.

Step 2
Find your Avery product
The fastest way to select a product is to enter your products' software code in the Quick Search box. You can also search by product description, click on the column headings to sort by size, product description, colour or layout.
Click the green Select this Product button to move forward
Step 3
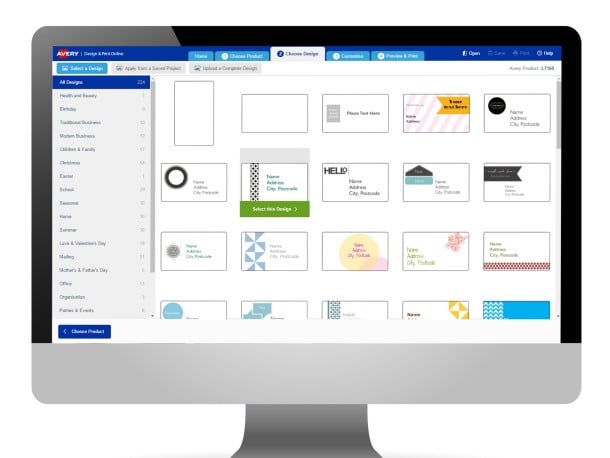
Choose your template design
On the Choose Design tab, you will find the blank and pre-designed templates available for your chosen Avery product. You can narrow your choice by selecting a design category from the list on the left.
Click on the design you’d like to customise and a green Select this design button will appear. Click that template again to continue.
Step 4
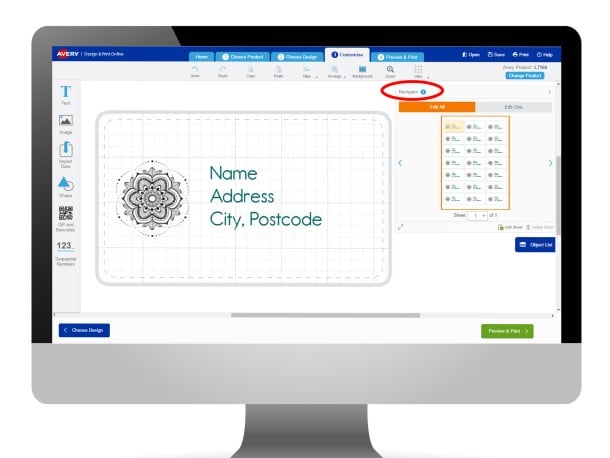
Navigator tool
You are now on the Customise Screen, where you can edit and personalise your product. At the top right of this screen is our Navigator tool, where you can Edit All the labels on your sheet at once or make changes to individual labels using Edit One.
Note: It’s best to first make your design changes to the entire page at once using Edit All, then switch to Edit One for individual changes.
Please review VERY carefully if you have switched back and forth between Edit One and Edit All.
Step 5
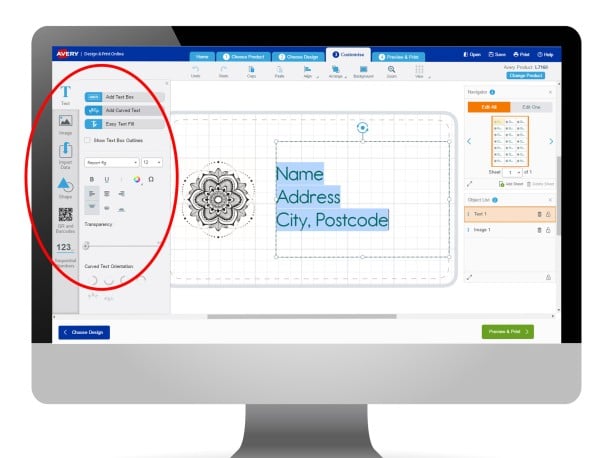
Add and edit text and images
On the left hand side of the screen are your item tools. This is where you can choose to add text, and image or other objects to your design.
When you select a tool an additional set of options will appear. There will be different options, depending if you select Text, Image or Shape.
This tool bar is also where you can perform more complex actions such as create a mail merge, generate barcodes or add sequential numbers. You can read more about these features here
Step 6
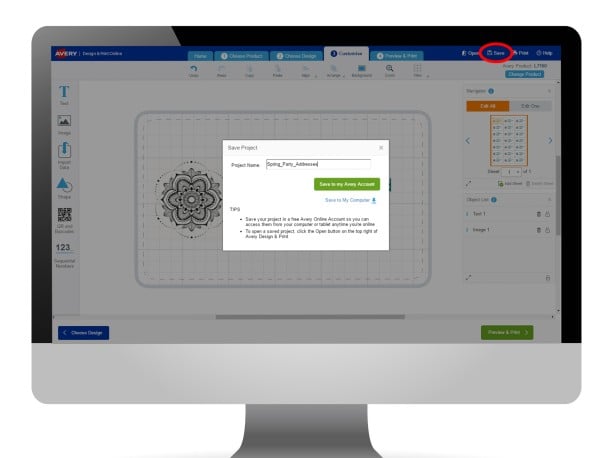
Save your design
You can save your project at any time using the Save button at the top of the Customise and Preview & Print screens.
Select Avery Account to save the project within Design & Print. Projects saved in Avery Accounts can be accessed from any computer with internet access.
Select My Computer to save the project to your computer. Projects will save as a .avery file and can only be opened using Design & Print Online or our Desktop app.

Step 7
Print your labels
When you have finished formatting your design, click the green Preview & Print button at the bottom of the Customise screen.
Before printing, Open your print dialogue and check the following
- Page size is set to A4 (Not US Letter Size)
- Paper Type is set to Labels (or Heavyweight if Labels is not available)
- Paper Source is set to Rear Tray or Manual Feed
- Page Scaling is set to Actual Size (Not fit, or scale)
Step 8
Need more help?
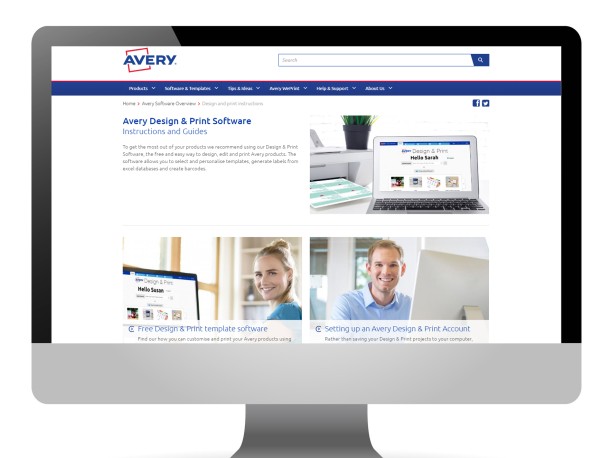
You can find more step by step guides on our Design & Print software here. And within Design & Print itself, there is an additional help section which will go into each tool and feature in detail. Just click on the word Help at the top right of the screen.
We also have a series of Demo videos if you prefer to watch how the software works, and of course our consumer centre are always on hand to help if you get stuck:
1800 644 353
email: [email protected]