Printing Tips
How to get perfect alignment, every time.
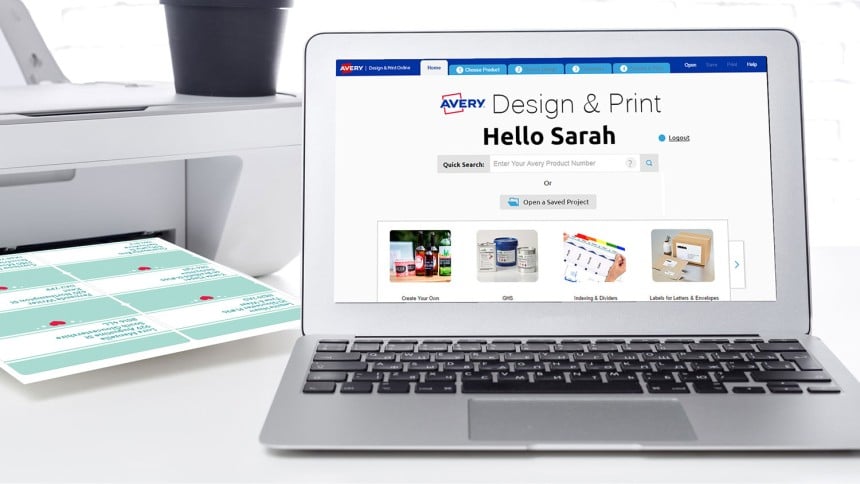
Printing is easy with free software from Avery. We have been developing template and software solutions for over 20 years and we offer various free tools to help you print including Design & Print software and templates for Microsoft Word.
To help ensure you get the best print results possible, follow these 6 printing tips.
Use Avery Products
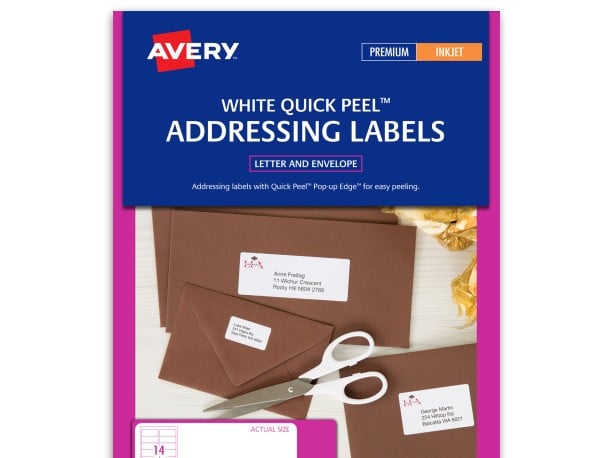
Be sure you are using a genuine Avery product. Non-Avery products are not optimised for our templates, and are not manufactured to our specifications.
Check Your Printer Settings
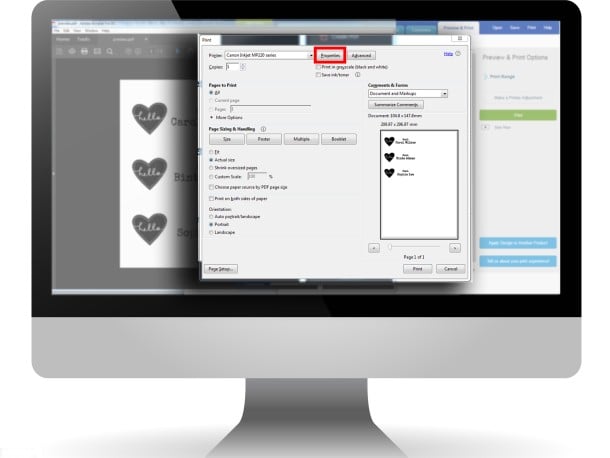
Open your print dialogue and check the following
- Page size is set to A4 (Not US Letter Size)
- Paper Type is set to Labels (or Heavyweight if Labels is not available)
- Paper Source is set to Rear Tray or Manual Feed
- Page Scaling is set to Actual Size (Not fit, or scale)

Test Print on Plain Paper
Before printing on your Avery product, we always recommend you perform a test print on a plain sheet of paper. Hold the printed sheet behind the Avery product to check the alignment of your layout. This is easier to see when held up against a window or a light. When satisfied with the layout, print on to the Avery product.
How to Adjust your Margins Manually
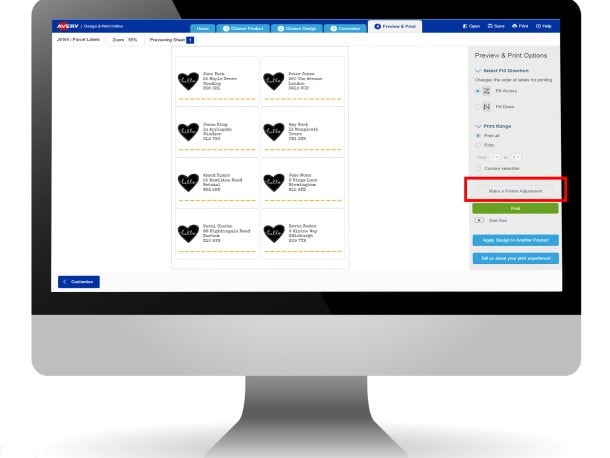
Tip for users of Design & Print only
If your design does not print correctly on the plain paper then click on the Make a Printer Adjustment button (Step 4 Preview & Print menu) on the right hand side of the page. Review your test print to determine which direction you need to move your project. Now use the controls to shift your project’s alignment left, right, up or down. Test again on plain paper and return to this step if it’s still not quite right.
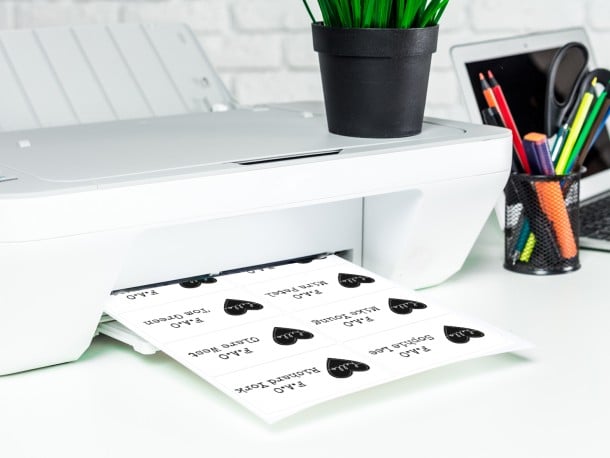
Don't re-print on the same sheet of labels
When printing label products, do not feed labels through your printer more than once. The Avery satisfaction guarantee extends only to a sheet of labels that has been fed through a printer a single time.

