How to use Avery Templates in Word
Where to find Avery Labels
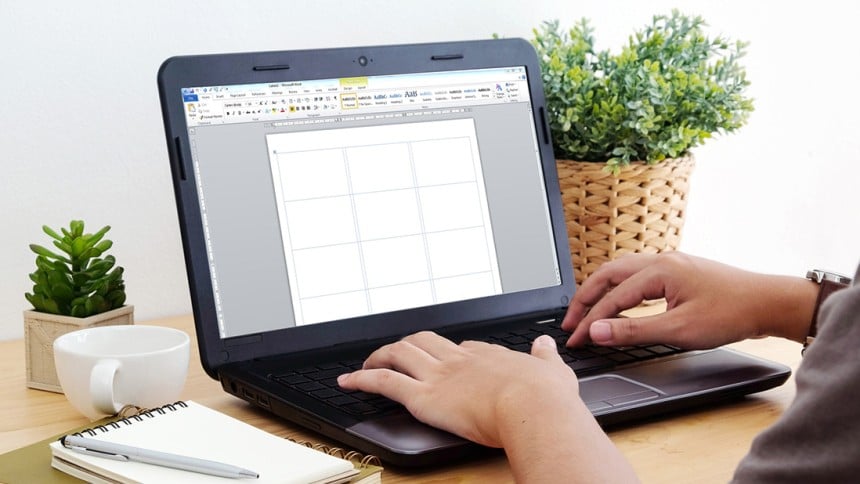
If you use Avery A4 products, such as labels, business cards, dividers and name badges you can design them using the Avery Templates within in Word.
This Step by Step guide will show you where to find Avery Templates within Microsoft Word.
Step 1
Open Microsoft Word
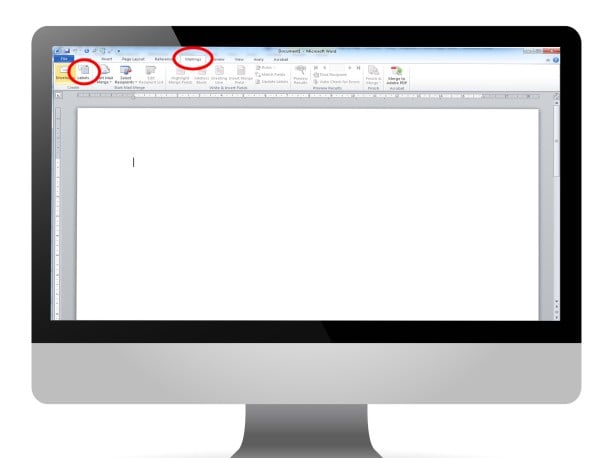
Open a new document in Word and select the Mailings tab at the top of the screen.
This will open the Mailings Ribbon. You will find the Labels option second from the left. Click on this Labels button.
Step 2
Locate your Avery Software Code
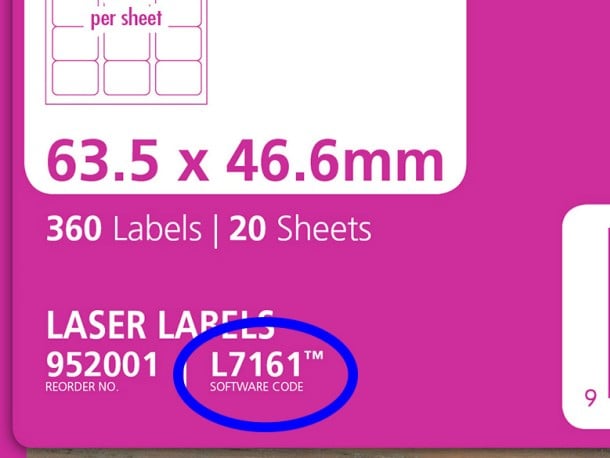
A software code is the unique identifier for all Avery products. It's located both on the packaging of your product and, for most products directly, on the product itself such as L7160.
On the example above the Software code is L7161.
(You do not need the additional sheet count number i.e. "-100").
Step 3
Select your Avery Product
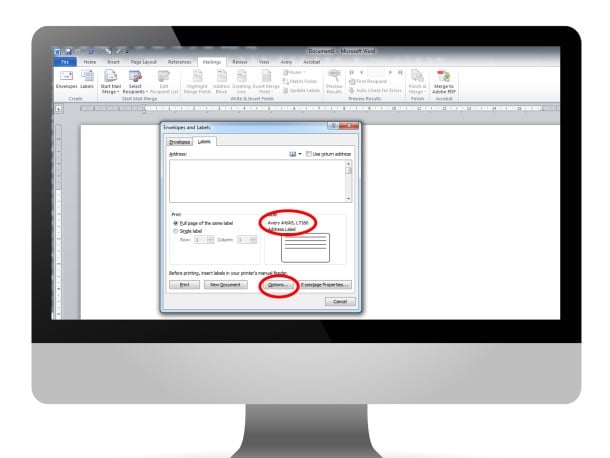
When you have clicked on Labels, the Envelope and Labels pop up window will appear. First, check which label is currently selected. The description will be visible just above the drawing of the label. For example Avery A4/A5 L7160 Address Label.
If this is not the Product you wish to design on, click the Options button to browse for the correct product.
Step 4
Find your Avery Products
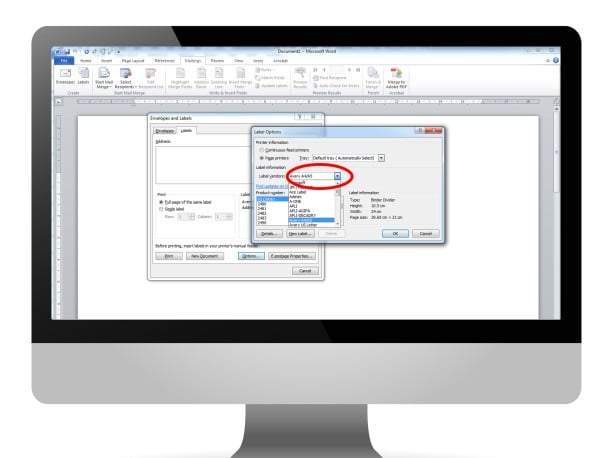
In the Labels Options pop up, select Avery A4/A5 from the Label Vendors drop down list. All of our A4 templates will then appear in box underneath the word “Product Number”. Pick the number that matches your Avery Product’s software code and click OK.
Step 5
Full Sheet or Single Label?
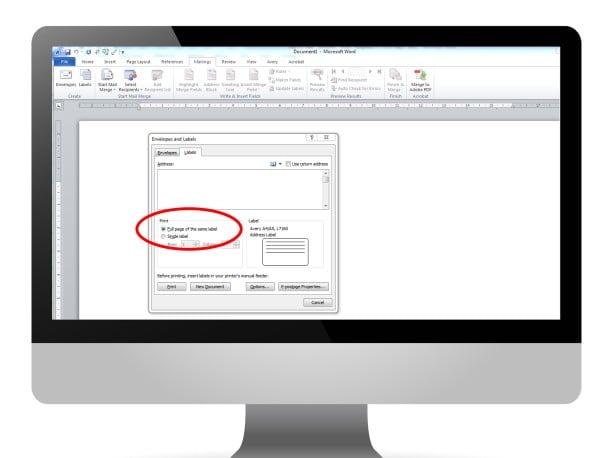
You will now return to the Envelopes and Labels box. Next, do one of the following:
a) If you want the same address on all labels in the sheet, type it in the Address box, make sure “Full page of the same label” has a blue dot next to it, then click New Document to see how your labels will look before printing.
b) If you want each label to contain a different address, click New Document. The Label’s template will appear on your screen allowing you to type the address you want on each label.
Step 6
Edit your Labels
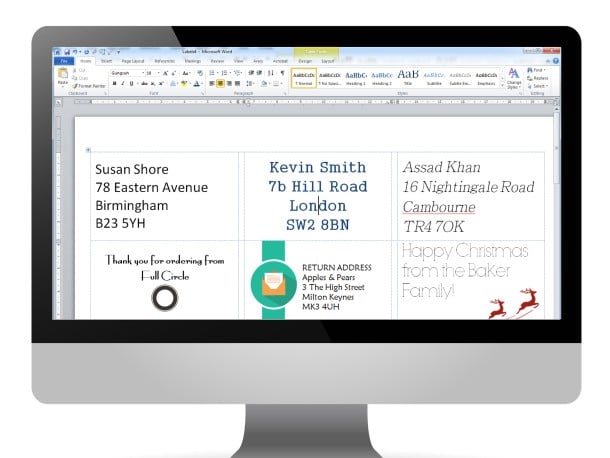
After clicking New Document your labels will appear on your Word Document.
(TIP: To see the borders between labels, go to the Layout tab, and under Table Tools, click View Gridlines)
You can now change your font, make changes to your labels or add images or more information. When finished, click the File tab, click Print, and click the Print button.

