General FAQ's
Click here to find out how to add a text box
Click here to find out how to add images, or watch the video below!
Click here to find out how to add borders, or watch the video below!
Click here to find out how to mail merge, or watch the video below!
Click here to find how to design double sided cards
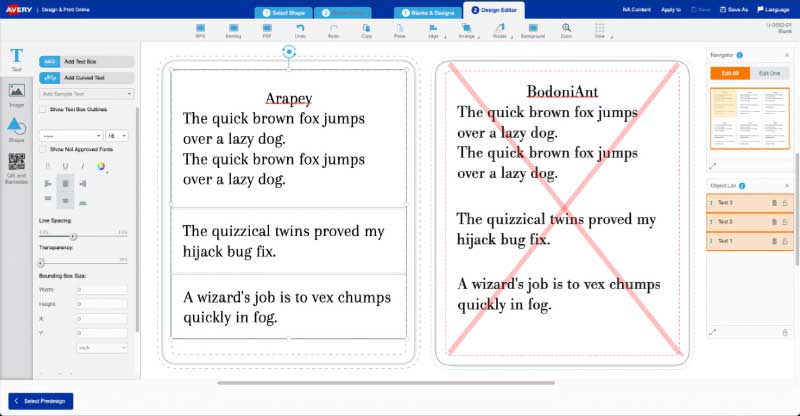
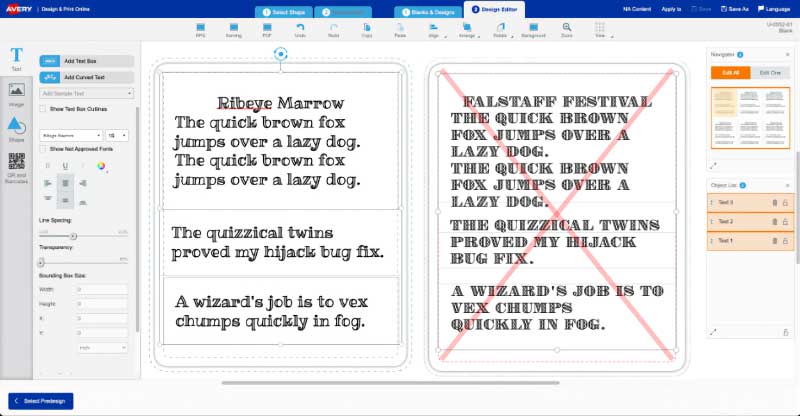
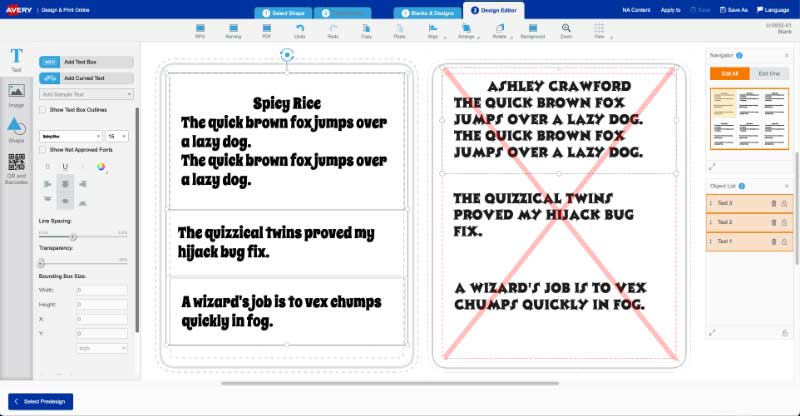
If you have used any of the below fonts, here are some alternative fonts for replacements.
BodoniArt will be replaced by Arapey
Falstaff Festival will be replaced by Ribeye Marrow
Asley Crawford will be replaced by Spicy Rice
Create your table either in Canva or word. Save the file as a pdf, then upload your file in Design & Print.
Create your design in Canva. Save as an image or pdf and download the file. In Design & Print, upload the saved template into Design & Print tool.
To send a file to a colleague, save the file as an 'Avery Editable' file and email that to your colleague. They will then need to download that to their computer, open the Design & Print software then click on 'Open a Saved Project', then load project from their computer.
To delete TYPE YOUR TEXT from the textbox, highlight the text and start typing.
To put different names on all labels, you can manually enter or paste each name onto each label individually. Alternatively, you can create a mail merge by creating a spreadsheet and importing the data into Design & Print. Find out more about Mail Merge.
Under Navigator on the right hand side, you can choose to toggle between "Edit All" or "Edit One". Choose "Edit One" to customise each label individually.
The number of labels you can print depends on the selected template. If the template contains multiple labels per sheet, you’ll need to print the full quantity defined by that template rather than a single label.
Under Navigator on the right hand side, you can choose to toggle between "Edit All" or "Edit One". Choose "Edit One" to customise one label individually. If you only update one label, only that label will be printed, the rest will remain blank.
No, we only have templates designed to be use in Design & Print tool or Microsoft Word. You can however contact customer service for further help on creating die lines for our products.
You will have to delete the whole textbox to delete the text inside the textbox.
To choose the right template for your project, first select Design and Print on the navigation on the website and choose Start Design Designing.
This will take you to Design and Print. You can then decide what kind of labels you'll need. You can then decide what size will suit your needs.
When a template has been choosen, you will then be able to start picking the right design and content to complete your project within Design and Print
Under Navigator on the right hand side, you can choose to toggle between "Edit All" or "Edit One". Choose "Edit All" to edit all labels at once.
If you require a full page of the same design, you will need to start on the 'Edit All' option. Once you change to 'Edit One' and start designing you are unable to go back to 'Edit All'.