Office Organisation
Ideas for any business to get organised
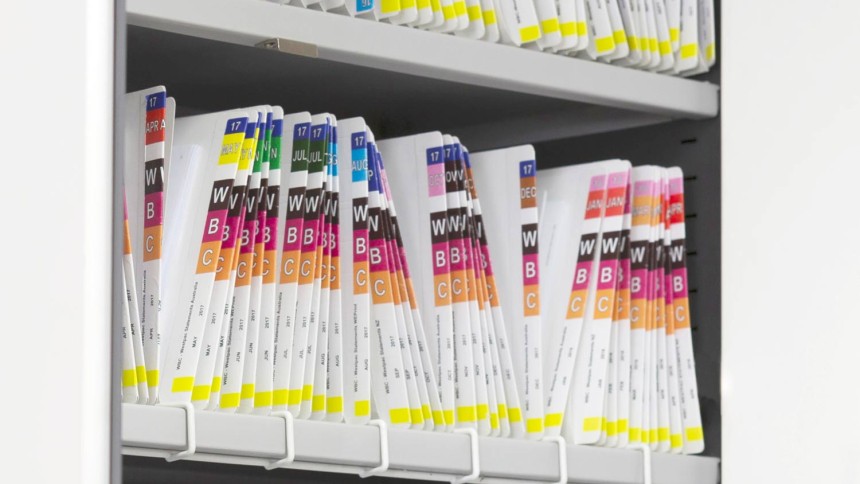
Whether you need a quick and easy solution for filing your documents, help with the preparation of professional presentations, or simply organise your office again, our ideas and efficient products will help you save time and time with a very professional appearance!