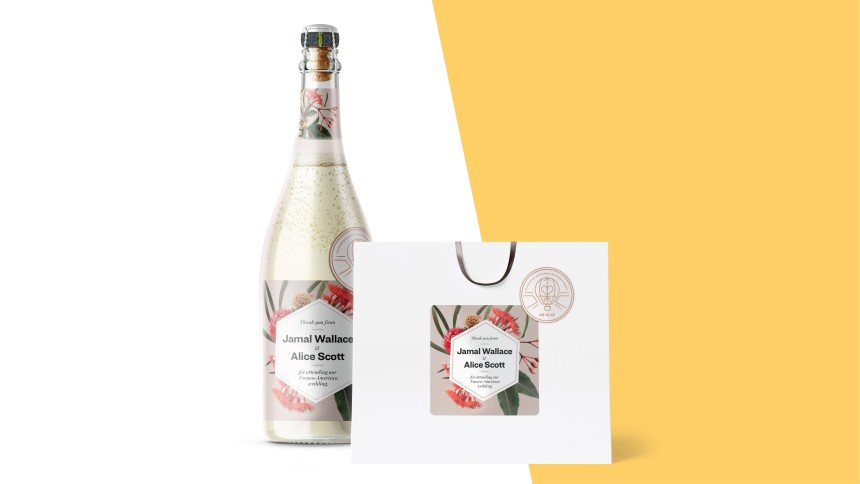
Holidays, Parties and Weddings
Let Avery help you create an event to be remembered
Your touch is the special touch, make every occasion a little more special.
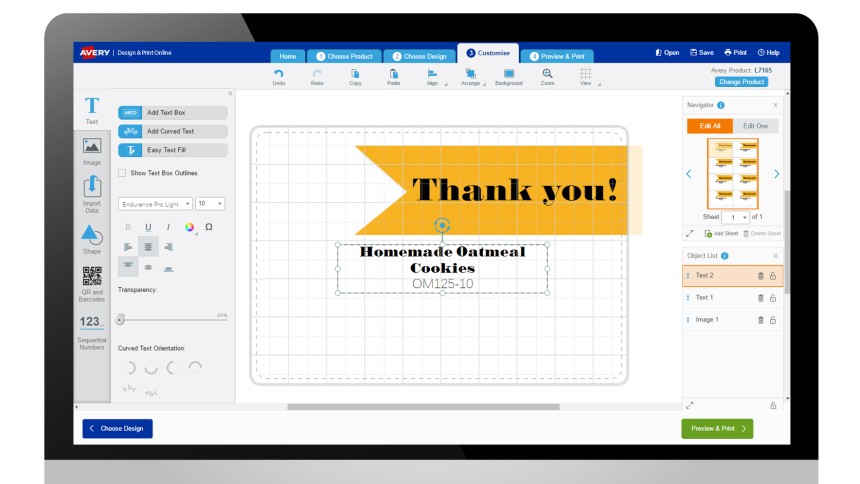
From personal place cards to gift tags, we've got ideas for every occasion and event in your home.